- 3D Printing Services

- CNC Machining Services

- Vacuum Casting Services

- Surface Finishing Services

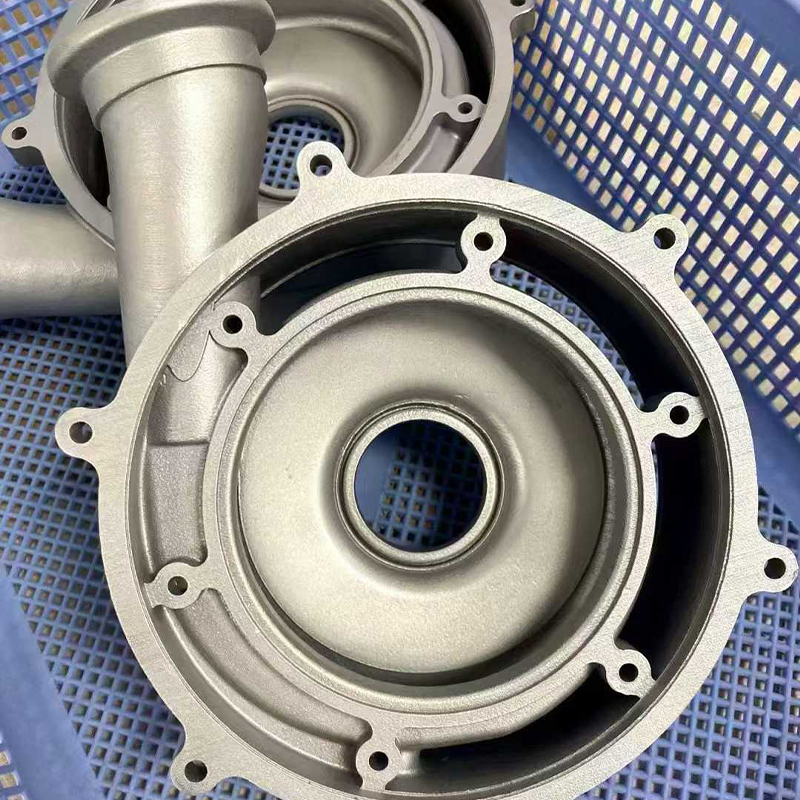
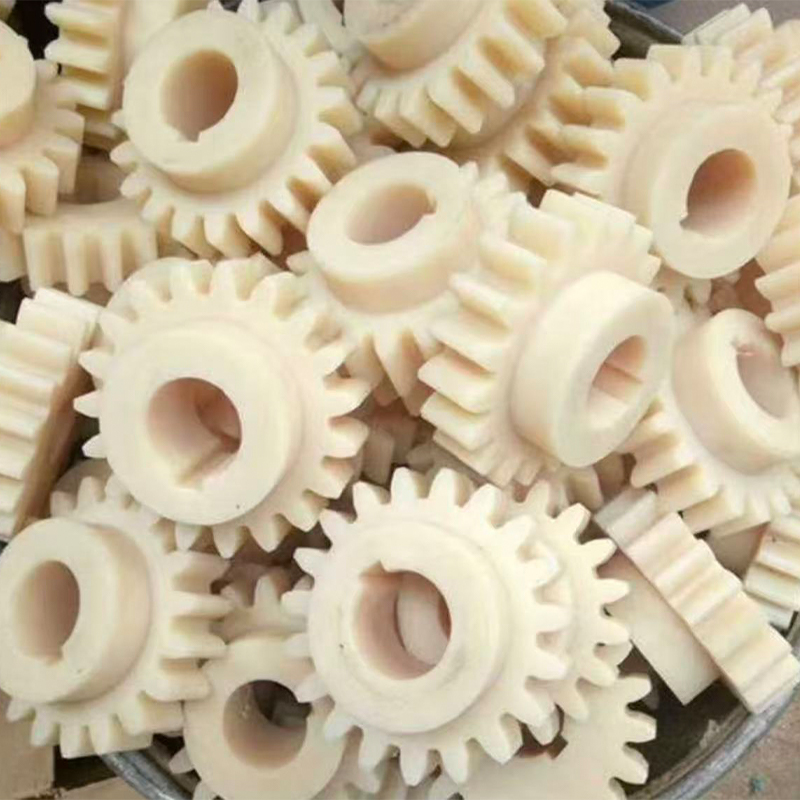
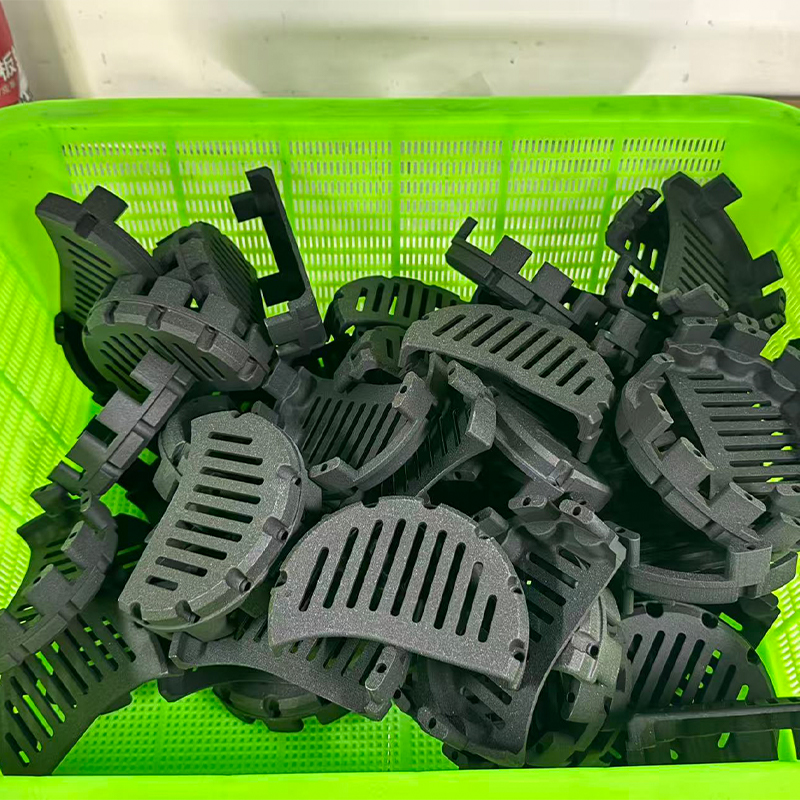
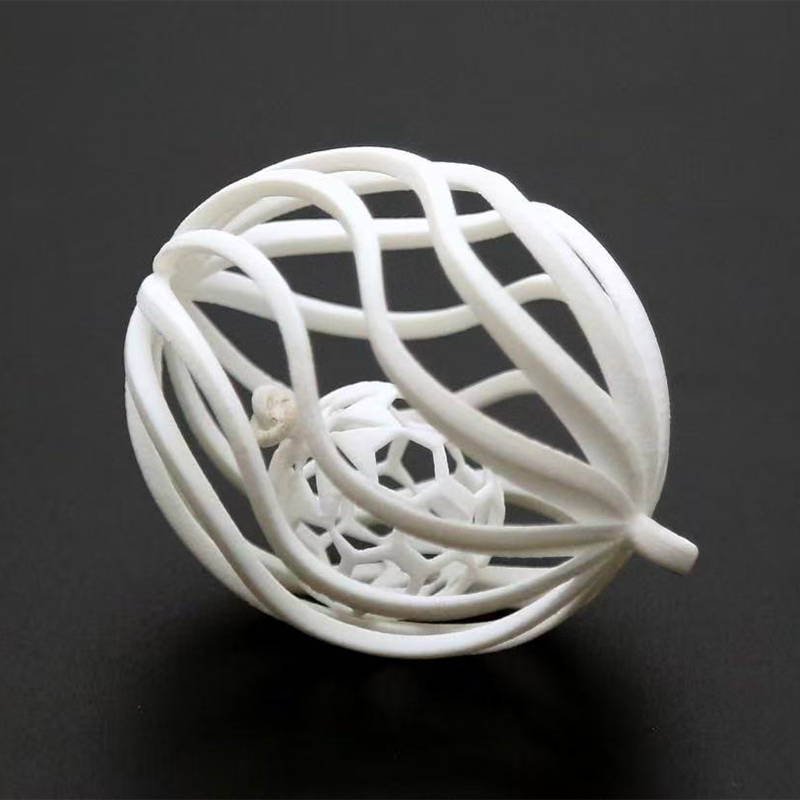


 English
 Español


Surface Finishing Services: How to Choose the Right Finish
Content
- 1 Surface Finishing Services: The Short Answer for Prototype and Production Buyers
- 2 Common Types of Surface Finishing and Their Characteristics
- 3 How Surface Finishing Works: Process Flow and Principles
- 4 Matching Surface Finishing to Different Materials
- 5 Applications and Selection Points for Surface Finishing Services
- 6 Detailed Comparison: Painting vs Anodizing vs Powder Coating vs Bead Blasting
- 7 Design for Finishing: Tolerances, Edges and Masking
- 8 Quality Control and Common Finishing Defects
- 9 Maintenance and Care for Finished Parts
- 10 Working with a Surface Finishing Manufacturer and Supplier
- 11 Explore Jiaheng Surface Finishing Services
- 12 Surface Finishing Services FAQ
- 12.1 What are surface finishing services?
- 12.2 Which surface finish suits a prototype that will be photographed or shown to customers?
- 12.3 Can 3D printed parts be painted and finished?
- 12.4 Does surface finishing change part dimensions?
- 12.5 What is the difference between anodizing and painting?
- 12.6 How do I make sure the color matches my reference?
- 12.7 Can finishing be combined with machining, printing or vacuum casting?
- 12.8 What should I include when requesting a surface finishing quotation?
Surface Finishing Services: The Short Answer for Prototype and Production Buyers
You have probably seen it happen: a CNC machined aluminum housing looks sharp in the CAD render, arrives with visible tool marks and sharp edges, and picks up fingerprints the moment someone handles it. Nothing is wrong with the machining. The part simply never received the finishing it needed. Surface finishing services decide how a part looks, how it feels in the hand and how well it survives use, and the right choice depends first on function and then on appearance.
For most prototype and small-batch projects, the practical answer is a short sequence, not a single treatment. Deburr the edges, texture or smooth the surface to the level the design calls for, then add a coating or color if the part is visible or exposed. Bead blasting suits a uniform matte look, painting suits color and brand matching, anodizing suits aluminum that must resist wear, and polishing suits parts that need a glossy or clear surface. A surface finishing manufacturer that handles several of these in one place can recommend the combination, instead of leaving you to coordinate vendors.
This guide is written for engineers, product managers and sourcing teams who need parts that are ready to assemble, photograph, test or ship. It covers the main finish types, how each process works, how to match finishes to materials, how to compare options, what to specify on a drawing and how to care for finished parts. It also lists the questions worth asking a surface finishing supplier before you commit.
What a finishing request usually needs
- Material and process history: printed resin, nylon, machined metal or cast polyurethane all respond differently.
- Purpose: display model, functional test part, handled product or exposed outdoor component.
- Look and feel: color reference, gloss level, texture and any logo or marking.
- Critical dimensions: surfaces that must stay within tolerance after the coating is applied.
The last point is the one buyers overlook most often. Coatings add thickness, blasting removes a little material and polishing changes edges, so a finish is never dimensionally neutral. Agreeing on which faces are cosmetic and which are functional before work begins prevents most disputes later.
Choose the finish by what the part must do first, then by how it should look, and keep tolerances in mind from the start.
Common Types of Surface Finishing and Their Characteristics
Finishing is a family of treatments, and each one solves a different problem. Some remove marks, some add a layer, and some change the surface chemistry. The cards below give a quick orientation, and the table that follows lines them up for comparison. Availability depends on the base material, so always confirm the options for your specific part with the supplier.
Deburring and sandingRemoves sharp edges, tool marks, support remnants and parting lines. This is the foundation step for almost every other finish. Bead or sand blastingFine media strikes the surface to create a uniform matte texture and hide small marks. Common on metal and some plastics. Painting and coatingPrimer, color and clear coats add appearance and some protection. Matte, gloss and soft-touch effects are possible. PolishingProgressively finer abrasives produce a smooth, reflective or clear surface. Widely used for transparent parts and decorative metal. AnodizingAn electrochemical layer on aluminum that improves surface hardness and allows dyed color. Suited to housings and trim. Plating and powder coatingMetal plating or baked powder layers for wear and corrosion behavior on suitable base materials.
| Finish | What it does | Typical base materials | Look and feel |
|---|---|---|---|
| Deburring and sanding | Removes edges and marks | Metal, plastic, resin | Smooth, neutral |
| Bead blasting | Creates uniform matte texture | Aluminum, steel, some plastics | Fine matte, hides marks |
| Painting | Adds color and protective layer | Plastic, resin, metal | Matte, satin, gloss or soft-touch |
| Polishing | Smooths to reflective or clear surface | Metal, acrylic, clear resin | Glossy, clear |
| Anodizing | Builds oxide layer on aluminum | Aluminum alloys | Satin metallic, dyed colors |
| Plating | Adds metal layer | Conductive or prepared surfaces | Bright or satin metal |
| Powder coating | Bakes a durable colored layer | Metal parts | Uniform, slightly textured |
Many finishes are layered. A painted plastic part often goes through sanding, priming, a color coat and a clear coat. An anodized aluminum part may be bead blasted first to unify the surface and then anodized for color and hardness. Understanding the sequence helps you read a quotation and see why a seemingly simple finish takes several steps.
Most finishes are sequences, with preparation steps that matter as much as the final coating.
How Surface Finishing Works: Process Flow and Principles
Whatever the finish, the process follows the same logic. The surface is prepared, treated, protected where needed and inspected. Skipping or rushing preparation is the single most common reason for coatings that peel, show marks or look uneven.
- Inspection and preparation: the supplier checks the incoming part for defects, support marks, parting lines and contamination, then deburrs and sands to the required level.
- Cleaning and degreasing: oils, release agents and dust are removed, because even a light film can cause coating defects.
- Masking: areas that must stay uncoated, such as mating faces, threads or contact surfaces, are covered.
- Treatment or coating: media blasting, priming, painting, anodizing or other treatment is applied under controlled conditions.
- Curing or drying: coatings are cured at a suitable temperature and time so they harden properly.
- Final inspection and packing: appearance, color, gloss and critical dimensions are checked, and parts are packed to protect the new surface.
Sanding is the stage that most visibly shapes the final result. Each step in grit removes the scratches left by the previous one, and paint can only hide scratches that are finer than the coating thickness. That is why a well-prepared part can look better with a thin coat than a poorly prepared part looks with several coats.
The chart below shows an illustrative view of how surface roughness drops across a typical painting sequence. Roughness is expressed as an index so that the trend is easy to read, and it is not a measured value for any particular part.
The area chart shows that the biggest drop in roughness happens early, during coarse and fine sanding, which is where tool marks, layer lines and parting lines are removed. Primer and filler then take the surface down further by filling microscopic scratches, so that the color coat sits on a uniform base. The color and clear coats continue the downward trend, but the gains are smaller, which explains why attention to the earlier stages pays off more than extra coats at the end. For customers using Jiaheng's surface treatment and painting services on printed, machined or cast parts, this is also why the finishing brief should state the target look before preparation begins. A glossy finish needs a smoother base than a matte one, so the preparation level is chosen to suit the final appearance.
Preparation sets the ceiling for any coating, so a smooth, clean base matters more than the number of coats.
Matching Surface Finishing to Different Materials
A finish that works well on one material can fail on another, so material is the first filter when selecting a treatment. Printed parts, machined parts and cast parts each bring their own surface condition and their own risks.
3D printed resin and nylon parts
Resin prints often show fine layer lines and support marks that need careful sanding before paint. Nylon parts have a naturally slightly grainy surface, which can be smoothed, dyed or coated. Because printed parts are porous at a microscopic level, primer is usually important before a color coat, as it helps seal the surface and improves adhesion.
CNC machined metals and plastics
Machined aluminum is a popular candidate for bead blasting and anodizing, which together give a uniform satin look and better wear behavior. Steel parts may be blasted, coated or plated depending on the environment. Machined plastics such as acrylic can be polished to a clear finish, while other plastics are painted or textured.
Vacuum cast polyurethane parts
Cast parts copy the master surface, so their finish begins with the quality of the master. They accept sanding, priming and painting well, and texture can be built into the mold. Color can also be added to the resin before casting, which can be combined with painting for specific areas.
| Base material | Common finishes | Points to watch |
|---|---|---|
| Printed resin | Sanding, priming, painting, polishing | Layer lines, support marks, primer adhesion |
| Printed nylon | Blasting, dyeing, painting | Porous surface, color uniformity |
| Machined aluminum | Bead blasting, anodizing, painting | Masking threads, coating thickness |
| Machined steel | Blasting, coating, plating | Corrosion protection, edge coverage |
| Clear acrylic | Polishing, clear coating | Scratches, solvent sensitivity |
| Cast polyurethane | Sanding, painting, texturing | Parting lines, mold release residue |
If a part combines materials, such as a metal insert in a plastic housing, tell the finishing team up front. Different materials may need different preparation, and coatings that suit one may attack the other. A short drawing note about which surfaces are plastic and which are metal is often all that is needed.
Start with the base material, because adhesion, preparation and finish options all depend on it.
Applications and Selection Points for Surface Finishing Services
Surface finishing appears in nearly every product category, but the reason for finishing changes with the application. A medical device housing needs cleanable surfaces, a robotics shell needs scratch resistance, and a consumer electronics sample needs a convincing look and feel. The two columns below pair common applications with the points that guide selection.
Typical application fields
|
Selection points to check
|
Where each finish tends to fit
The scatter chart below places common finish options by how good they look and feel and how well they resist wear. It is an editorial illustration meant to guide discussion, not a test result. Read it as a map of trade-offs rather than a ranking.
The scatter chart shows that no finish sits in the top right corner for every need, which is why selection involves trade-offs. Anodizing, plating and powder coating cluster in the upper half because they add a harder or more durable surface, though they apply to a narrower set of base materials. Painting sits in the middle on wear and toward the right on appearance, which reflects its strength in color flexibility and its suitability for plastic, resin and metal parts alike. Polishing and soft-touch coatings favor feel and look over abrasion resistance, so they suit display and handled parts better than heavily loaded ones. For a project supported by Jiaheng's painting and surface treatment service, this map is a useful starting point for the conversation about whether the priority is appearance, durability or a balance of both.
Decide whether appearance or wear resistance matters more, then let the supplier suggest finishes that fit your material.
Detailed Comparison: Painting vs Anodizing vs Powder Coating vs Bead Blasting
When buyers ask which finish to use, they are often choosing among these four. They overlap in some uses and diverge sharply in others, so a side-by-side look is helpful. The table below summarizes the main differences in plain terms.
| Factor | Painting | Anodizing | Powder coating | Bead blasting |
|---|---|---|---|---|
| Base materials | Plastic, resin, metal | Aluminum alloys mainly | Metal, mainly steel and aluminum | Metal and some plastics |
| Color options | Very wide, color matching possible | Limited dyed range | Wide range | None, natural material tone |
| Wear resistance | Moderate, depends on system | High surface hardness | Good, durable layer | Low, texture only |
| Dimensional effect | Adds a thin layer | Slight growth and surface change | Adds a thicker layer | Removes tiny amounts of material |
| Appearance | Matte, satin, gloss, soft-touch | Satin metallic | Uniform, slightly textured | Fine matte |
| Typical use | Prototypes, branded products, housings | Aluminum housings, trim | Frames, brackets, enclosures | Unified surface, pre-treatment |
Painting is the most flexible route because it works across plastic, resin and metal, and because color can be matched to a reference. Its limitation is that wear resistance depends on the coating system and on how the part is used. Anodizing is a strong option for aluminum that will be handled or scratched, but it is limited to suitable alloys and offers a narrower color range. Powder coating tends to produce a thicker, durable layer on metal, which suits frames and enclosures rather than fine-detail parts. Bead blasting is more of a texture and preparation step than a coating, and it is often combined with another finish.
How much effort each step involves
Another way to compare finishes is by the effort they involve. More steps usually mean more time and more handling. The column chart below shows a relative effort index for common steps. It is illustrative, intended to explain scheduling patterns rather than to quote a project.
The column chart shows that deburring and bead blasting sit at the lower end of the effort scale, which is why they are common default steps for machined parts. Sanding and priming rise noticeably because they involve careful hand work and drying time, and they set up everything that follows. Single-color painting adds coating and curing on top of that preparation. Multi-color masked painting reaches the highest effort because each color needs its own masking, application and curing cycle. Polishing to a high gloss also ranks high, since it requires patient progression through finer abrasives. Customers who want a predictable schedule can use this pattern to decide which parts of a design genuinely need premium finishing and which can use a simpler treatment.
Painting is the most flexible finish, anodizing and powder coating add durability on metal, and blasting works as texture or preparation.
Design for Finishing: Tolerances, Edges and Masking
Good finishes start at the drawing stage. A few small decisions about tolerances, edges and masking can save revisions and keep the finished part within specification. The points below are the ones a surface finishing manufacturer raises most often.
Allow for coating thickness
Coatings add thickness, and the amount varies by process. As a general guide, paint systems often add a few tens of microns across the primer, color and clear layers, while anodizing changes the surface and dimensions slightly as the oxide layer forms. On press fits, threads, sliding surfaces and bearing seats, even small build-up can matter. Mark those faces as masked or tell the supplier to keep them uncoated.
Treat edges and corners deliberately
Sharp edges are weak points for coatings because paint tends to pull thin at corners and chip first. A small radius or edge break improves coverage and makes parts safer to handle. If you need crisp edges for appearance, discuss how to preserve them while still protecting the surface.
Plan masking and multi-color areas
Masking separates finished areas from untouched ones, but it works well when boundaries follow natural steps or grooves in the design. A color break on a flat, unmarked surface is harder to make clean. If the design calls for two colors, adding a small groove or step at the boundary gives the finishing team a clear line to follow.
Specify what matters on the drawing
- Color reference such as a standard color code or physical sample.
- Gloss level: matte, satin or gloss.
- Surfaces that must remain uncoated or masked.
- Texture direction or pattern where relevant.
- Logos, marks or labels and their placement.
- Critical dimensions that must be measured after finishing.
Color is the item most likely to cause disagreement, because it looks different under different light. A physical sample beats a digital description, and viewing both under the same light source avoids surprises. If a color must match across parts made by different processes, such as a printed cover and a machined base, discuss it early so the finishing plan can adjust.
Plan for coating thickness, soften edges and define masked areas on the drawing to prevent fit and appearance problems.
Quality Control and Common Finishing Defects
Finishing quality is judged by eye and by hand as much as by instruments. A reliable supplier checks each stage, not only the last one, and keeps a reference sample to compare against. The table below lists defects that appear most often and how they are typically prevented.
| Defect | Typical cause | Prevention |
|---|---|---|
| Orange peel texture | Spray conditions or coating thickness not balanced | Control application and allow proper flow |
| Fisheyes or craters | Oil, silicone or dust contamination | Thorough cleaning and degreasing |
| Runs and sags | Too much coating applied in one pass | Thinner coats with controlled flash time |
| Peeling or poor adhesion | Poor preparation or incompatible primer | Proper sanding, cleaning and primer selection |
| Color mismatch | Different light, batch or substrate color | Use reference samples and shared lighting |
| Visible layer lines or tool marks | Insufficient sanding before coating | Extend preparation before primer |
| Uneven blasted texture | Inconsistent media, pressure or angle | Standardize settings and cover the whole surface |
Inspection usually covers appearance under standard lighting, gloss level, color consistency, coating coverage and critical dimensions. For batches, a first sample is often approved before the rest is finished, which avoids repeating a problem across every part. If your project has strict appearance standards, ask the supplier to describe how they judge acceptable variation, and agree on a written reference.
Packaging belongs to quality as well. Freshly finished surfaces can be marked by contact, so parts are normally separated, wrapped and supported to protect them in transit. Some coatings also continue to harden for a period after leaving the oven, so gentle handling during the first days helps.
Approve a first sample against a written reference, because most appearance disputes come from unclear expectations.
Maintenance and Care for Finished Parts
A finish lasts longer when it is cleaned and stored sensibly. Care advice differs by finish type, but the basic habits are shared: use mild cleaners, avoid abrasive pads and keep parts away from heat and strong solvents unless they were designed for those conditions.
| Finish type | Cleaning | Avoid | Notes |
|---|---|---|---|
| Painted surface | Soft cloth with mild soap and water | Abrasive pads and strong solvents | Touch-up is possible for small chips |
| Soft-touch coating | Damp cloth, gentle wiping | Oils, hand creams and alcohol-heavy wipes | May show wear faster with frequent handling |
| Anodized aluminum | Mild detergent and water | Strong alkaline cleaners | Dyed colors can fade in strong sunlight |
| Polished or clear surface | Lint-free microfiber cloth | Dry wiping with rough cloth | Wrap separately to prevent scratches |
| Blasted metal | Mild cleaner and soft brush | Oily handling over time | Fingerprints may show on bare surfaces |
| Plated or powder coated | Damp cloth | Scratching tools that break the layer | Protect exposed edges |
Storage and handling habits
- Store parts in a dry, moderate environment, away from direct sunlight and heat sources.
- Separate finished parts with soft packaging, never stack them directly on cosmetic surfaces.
- Wear clean gloves when assembling polished, clear or dark glossy parts to avoid fingerprints.
- Keep a spare sample or color reference so future batches can be matched reliably.
- Record the color code, process route and supplier notes for repeat orders.
Touch-up is a practical reality for prototypes that are handled often. Small chips on painted parts can usually be repaired with matching paint, while scratches on anodized or plated parts are harder to hide. If a part will be used in a demanding environment, discuss the intended wear at the quotation stage so the supplier can recommend a coating system suited to it.
Gentle cleaning, careful storage and a saved color reference keep finished parts looking consistent over time.
Working with a Surface Finishing Manufacturer and Supplier
Finishing is often the last step before a part is photographed, tested or shipped, which makes it a stressful place for surprises. A capable surface finishing supplier makes the process predictable by asking questions early and documenting the answers. These are useful questions to put to any candidate.
- Which base materials and part sizes do you routinely finish, and which finishes are done in house?
- How do you prepare the surface before painting or coating?
- Can you match a color from a physical sample, and how do you confirm the match?
- How do you handle masking, multi-color parts and logos?
- What do you inspect, and how do you handle first-sample approval for a batch?
- Can finishing be coordinated with the printing, machining or casting that produces the part?
The last question is where an integrated approach pays off. Zhejiang Jiaheng Intelligent Equipment Manufacturing Co., Ltd. works as an OEM and ODM manufacturer with an in-house design team and a one-stop workflow. Its services cover 3D printing in resin, nylon and metal, advanced machining, silicone mold replication for efficient small-batch production, and surface treatments such as painting that improve product appearance. Because the part and its finish are handled on one platform, the supplier knows how the part was made and can prepare the surface accordingly, which tends to reduce rework between steps.
How to prepare a useful enquiry
- A 3D model and drawing that mark cosmetic faces, masked areas and critical dimensions.
- The base material and how the part was made, such as printed, machined or cast.
- A color code or physical sample, plus the target gloss level and texture.
- The quantity, the delivery window and any packaging requirements.
- A short note on how the part will be used, handled or displayed.
With this information, a supplier can propose a finishing route in the first reply and flag any risks, such as a tight-tolerance bore that needs masking. It also gives both sides a shared reference if something needs to be adjusted later. For repeat orders, keeping the same supplier and the same written specification is the simplest way to maintain consistent appearance across batches.
Pick a supplier that coordinates finishing with how the part was made, and give them clear targets for color, gloss and masked areas.
Explore Jiaheng Surface Finishing Services
If your parts are ready for painting, coloring or other surface work, you can review the available options and project process on the dedicated page for Surface Finishing Services from Jiaheng. The team supports OEM and ODM projects and can coordinate finishing with printing, machining and silicone mold replication on one platform.
Send your part files, color reference and finish requirements to start a conversation with the Jiaheng team.
Surface Finishing Services FAQ
What are surface finishing services?Surface finishing services are treatments applied after a part is made to improve its look, feel or durability. They include deburring, sanding, blasting, polishing, painting, anodizing and coating. A surface finishing manufacturer usually combines several steps and adapts them to the base material and the intended use of the part. |
Which surface finish suits a prototype that will be photographed or shown to customers?Painting is a common choice because it allows color matching and gloss control on plastic, resin and metal parts. Good preparation, including sanding and primer, matters as much as the color coat. For clear parts, polishing is often used. The right answer depends on the material and the look you want to present. |
Can 3D printed parts be painted and finished?Yes. Printed resin and nylon parts are commonly sanded, primed and painted, and nylon can also be blasted or dyed. Because printed surfaces can show layer lines, the preparation stage is important. A supplier that also handles the printing can prepare the surface with that process in mind. |
Does surface finishing change part dimensions?It can. Coatings add a thin layer, anodizing changes the surface slightly, and blasting or polishing removes a small amount of material. For fits, threads or sliding surfaces, tell the supplier which faces must stay within tolerance so they can be masked or adjusted. General guidance is to confirm critical dimensions after finishing. |
What is the difference between anodizing and painting?Anodizing builds a hard oxide layer on aluminum and offers a limited range of dyed colors. Painting applies a coating that can be used on plastic, resin and metal and supports a wide color range. Anodizing tends to suit aluminum housings with handling wear, while painting suits flexible color and branding needs. |
How do I make sure the color matches my reference?Provide a standard color code or a physical sample, and ask the supplier to compare under the same lighting. A first sample approval before the whole batch is finished helps catch differences early. Color can look different on different base materials, so mention if parts are made from more than one. |
Can finishing be combined with machining, printing or vacuum casting?Yes, and combining them is often practical. A supplier that handles the making and the finishing can prepare surfaces and plan masking with full knowledge of the part. Jiaheng offers printing, machining, silicone mold replication and surface treatments on one platform, which keeps the project in one workflow. |
What should I include when requesting a surface finishing quotation?Include the 3D model or drawing, base material, quantity, color reference, gloss level, texture, masked areas and critical dimensions. Add a short note on how the part will be used and when you need it. Complete information shortens the first reply and reduces later changes. |
Clear color targets, defined masked areas and a smooth prepared surface are the keys to a finish that matches expectations.
Contact Information
-

zjjh@jiahzn.cn
-

+86-18936159957
-
+86-18966326325
ADD
-

Building 7, No. 188, Hongni Section of Zha Wang Road, Danghu Subdistrict, Pinghu City, Jiaxing City, Zhejiang Province, China
Copyright © 2026 by Zhejiang Jiaheng Intelligent Equipment Manufacturing Co., Ltd. OEM/ODM Integrated Smart Manufacturing Platform Manufacturers
