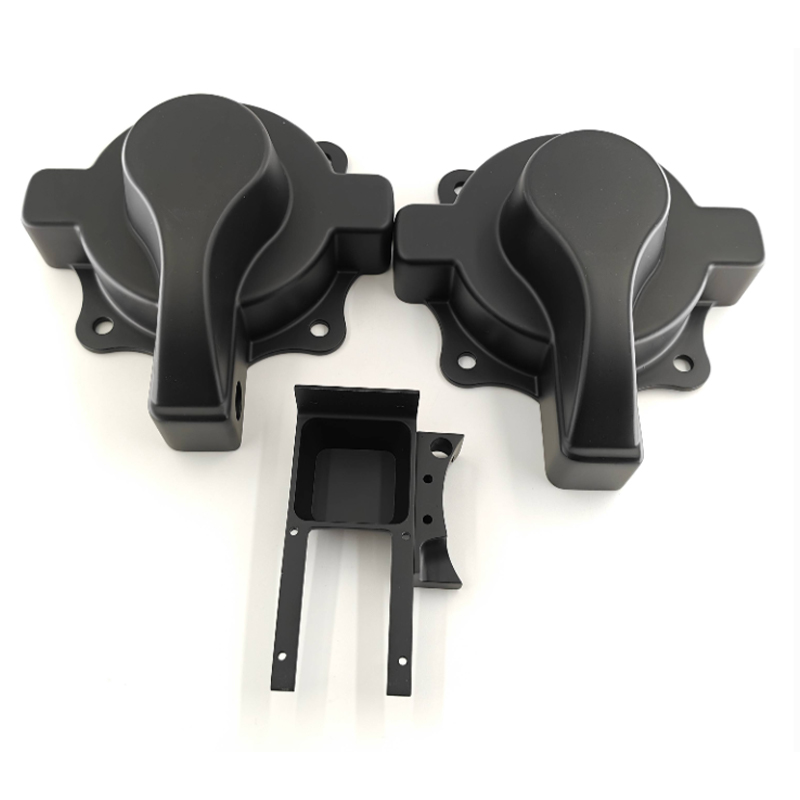
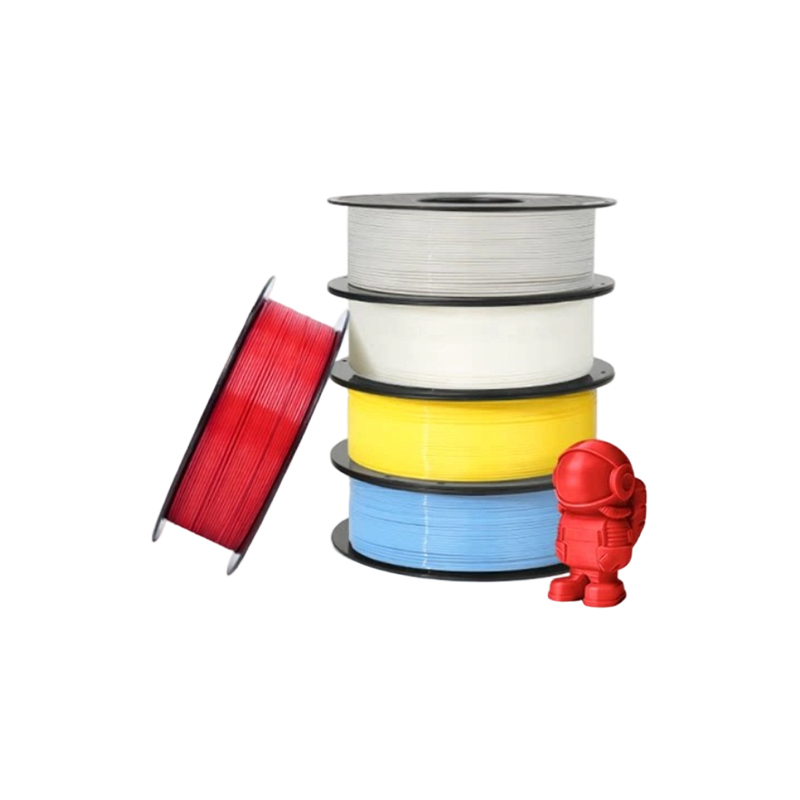
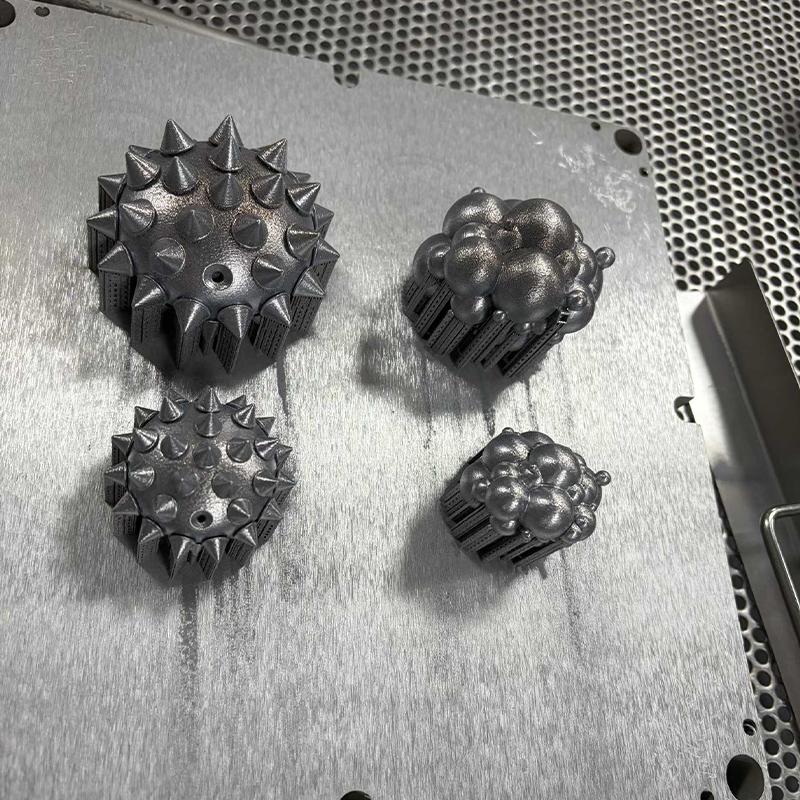
- 3D Printing Services

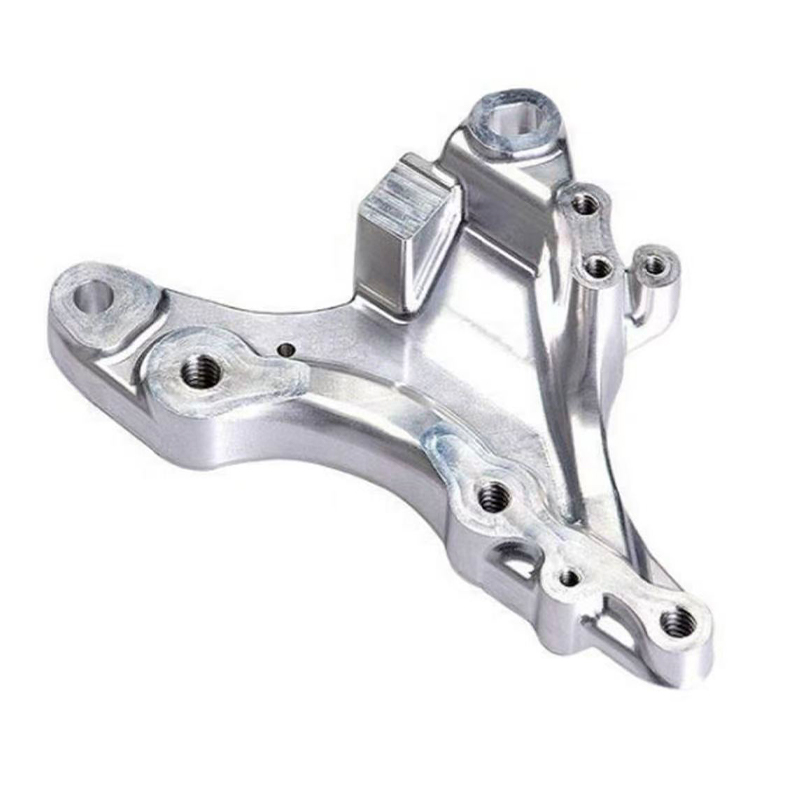
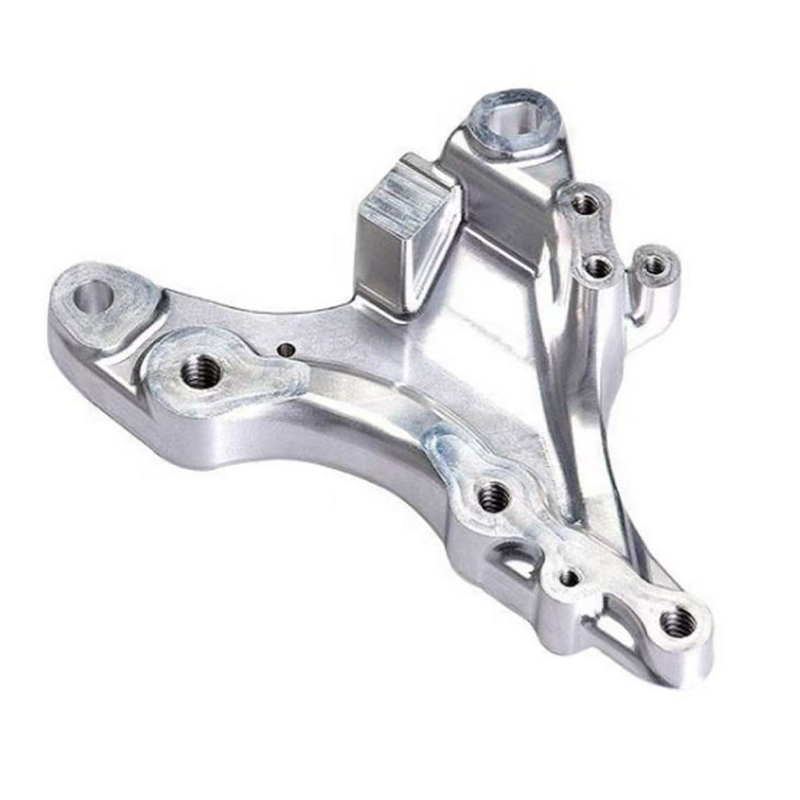
- CNC Machining Services

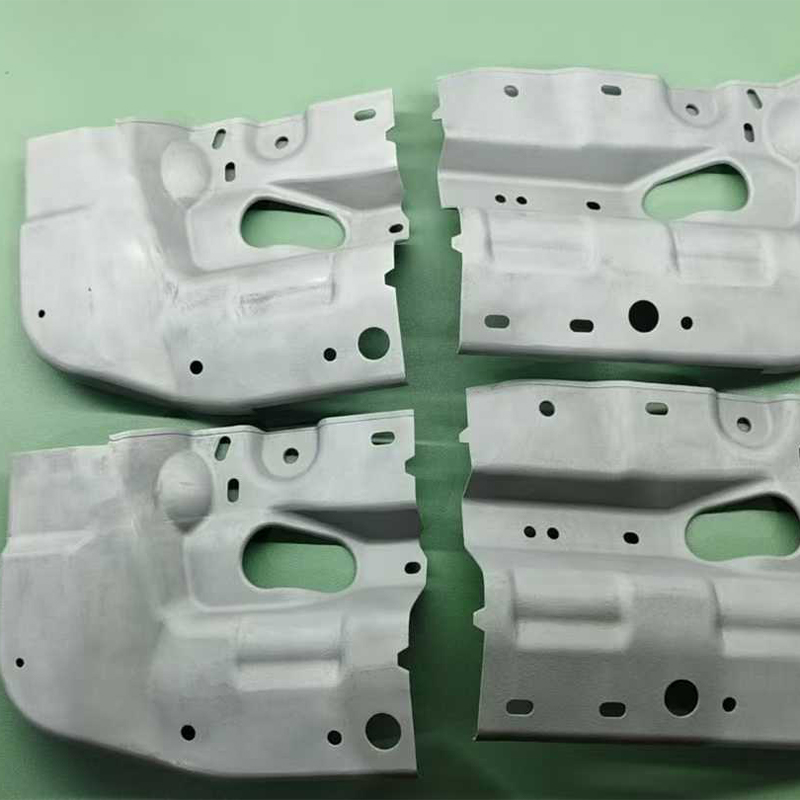
- Vacuum Casting Services

- Surface Finishing Services

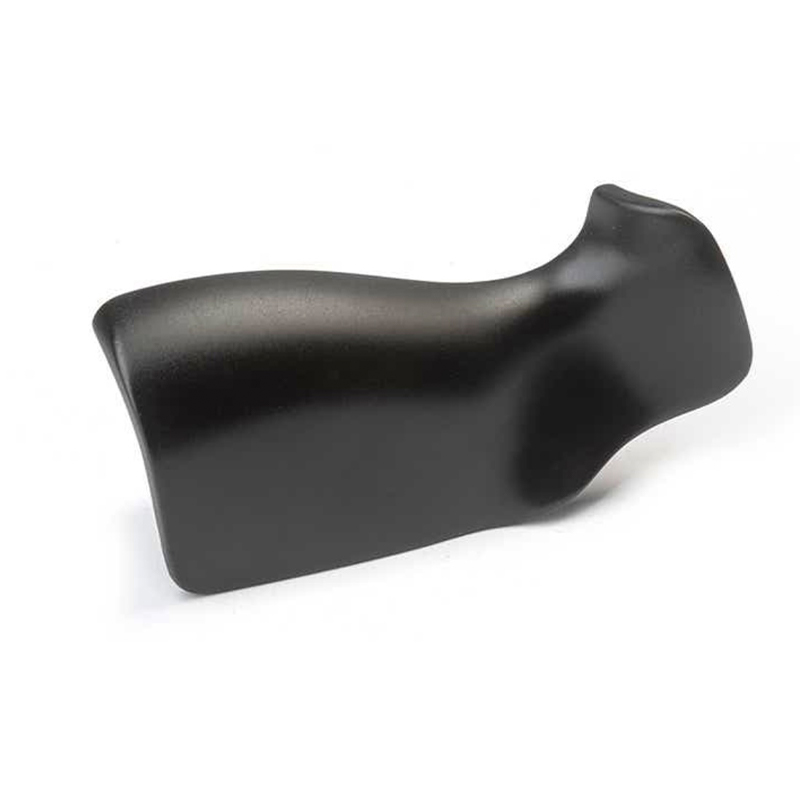
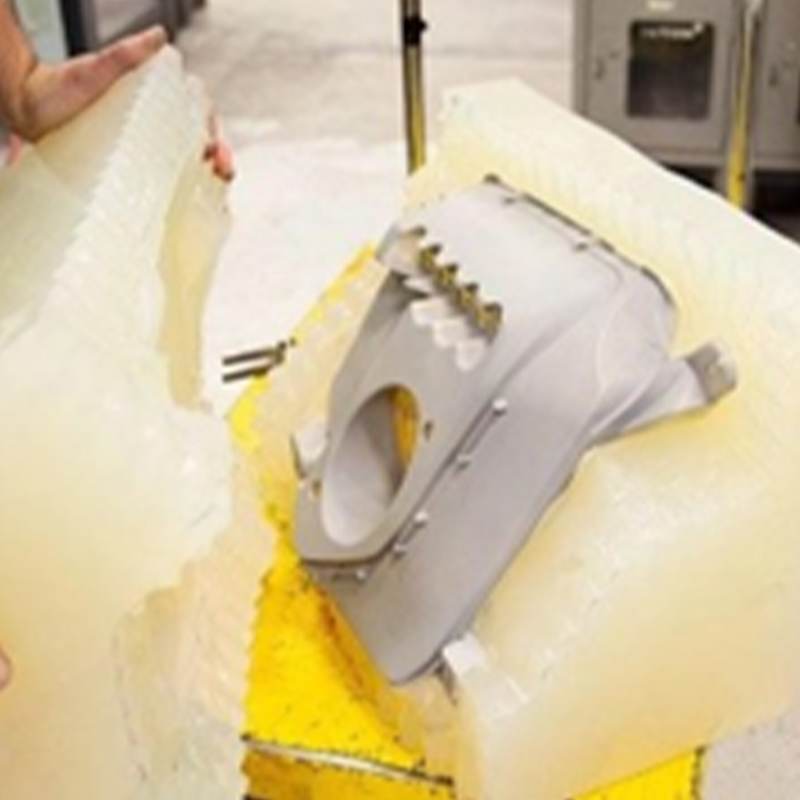
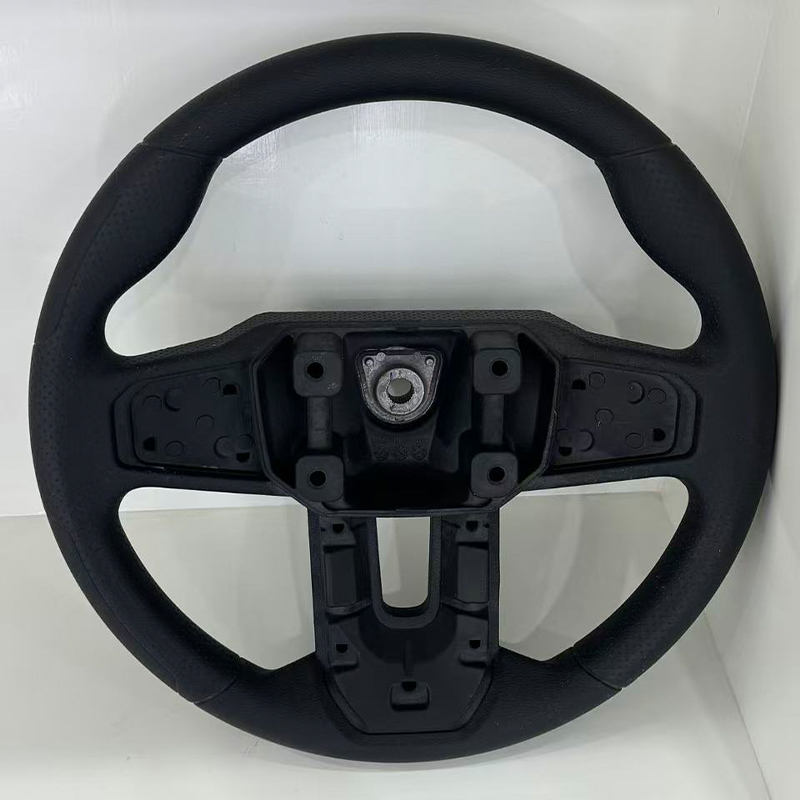
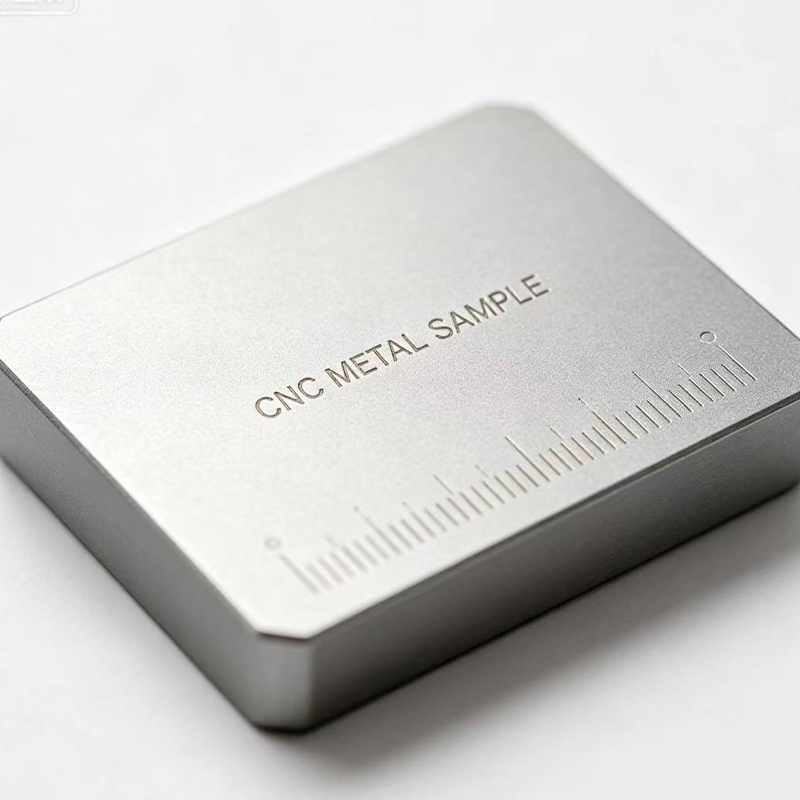

 English
 Español


Vacuum Casting Services: How It Works and When to Use It
Content
- 1 Vacuum Casting Services: The Short Answer for Prototype and Small-Batch Buyers
- 2 How Vacuum Casting Works Step by Step
- 3 Common Types of Vacuum Casting Resins and Their Characteristics
- 4 Applications and Selection Points for Vacuum Casting Services
- 5 Detailed Comparison: Vacuum Casting vs 3D Printing, CNC Machining and Injection Molding
- 6 Design Tips and Tolerances for Vacuum Cast Parts
- 7 Quality Control and Finishing for Cast Parts
- 8 Maintenance Guidance for Silicone Molds and Cast Parts
- 9 Working with a Vacuum Casting Manufacturer and Supplier
- 10 Explore Jiaheng Vacuum Casting Services
- 11 Vacuum Casting Services FAQ
- 11.1 What are vacuum casting services?
- 11.2 How many parts can one silicone mold produce?
- 11.3 What is the difference between vacuum casting and 3D printing?
- 11.4 When should I choose vacuum casting instead of injection molding?
- 11.5 What tolerances can I expect from vacuum cast parts?
- 11.6 Which materials are available for vacuum casting?
- 11.7 Can vacuum cast parts be painted or textured?
- 11.8 What should I send to get a vacuum casting quotation?
Vacuum Casting Services: The Short Answer for Prototype and Small-Batch Buyers
Picture this: your team has a 3D printed master that finally looks right, a design review in three weeks, and a need for twenty housings that feel and behave like production parts. Printing twenty copies would take too long and still look like prints, and hard tooling would be premature. Vacuum casting services solve exactly this gap. A supplier builds a silicone mold around your master, pours a polyurethane resin into it under vacuum, and cures the copies in a warm oven. The result is a small batch, typically around 10 to 30 pieces per mold, with fine surface detail and a choice of resins that imitate ABS, polypropylene, rubber or clear plastic.
That one sentence is the conclusion. The rest of this guide explains why it works, where it stops working, and how to brief a vacuum casting manufacturer so the first batch is usable rather than a learning exercise. We keep the language practical: what the process is good at, what to watch for on a drawing, and which questions to ask a supplier before you send files.
Who this guide is for
- Product developers who need appearance-grade or function-grade parts for reviews, tests and pilot builds.
- Procurement and sourcing teams comparing a vacuum casting supplier against printing or machining for a short run.
- Startups preparing marketing samples and investor demos before committing to injection molds.
- Engineers who want to validate fit, assembly and ergonomics with parts that look and feel close to final.
Vacuum casting is sometimes called urethane casting or polyurethane casting. All three names describe the same family of work: a flexible silicone tool, a two-part liquid resin and a vacuum chamber that removes trapped air. Because the tool is silicone and not steel, the lead time for the tool is short and design changes are easier to absorb. That flexibility is the main reason buyers search for a vacuum casting manufacturer when they are between a prototype and full production.
A few quick expectations help set the tone. Vacuum casting copies the surface of the master, so the master matters a great deal. The mold has a limited life, which is why the process suits short runs. The resins imitate common plastics but are not identical to them, so any test that depends on exact material data should be planned with that in mind. And the process rewards early conversations with the supplier about wall thickness, parting lines and finish.
Vacuum casting turns one good master into a small batch of production-like parts without the time and tooling effort of steel molds.
How Vacuum Casting Works Step by Step
Once you see the sequence, most quotation questions answer themselves. The process has five stages, and each stage has a typical way of going wrong. Knowing them helps you read a supplier's schedule and spot where a change request will cost time.
- Master preparation: the master is usually 3D printed or CNC machined, then sanded, primed and polished. Every scratch on the master will appear on every casting, so this stage sets the quality ceiling.
- Mold box and parting plan: the master is suspended in a box with gates and vents placed where resin should enter and air should leave. The parting line is chosen to hide seams on non-critical faces.
- Silicone pouring and curing: liquid silicone is poured over the master, usually under vacuum, and cured in an oven. The block is then cut open along the planned parting line and the master is removed.
- Resin casting under vacuum: the two resin components are weighed, mixed, degassed and poured into the closed mold inside a vacuum chamber. The vacuum pulls air from the cavity so resin can reach thin walls and fine texture.
- Curing, demolding and finishing: the mold goes into a warm oven, commonly in the range of 60 to 70 degrees Celsius for a few hours. Parts are then demolded, trimmed, sanded, painted or textured as the project requires.
The vacuum is the detail that gives the process its name and its advantage. Without it, tiny air pockets stay trapped in corners and under ribs, leaving bubbles and short fills. With it, the resin flows more evenly into the cavity, which is why vacuum cast parts often show cleaner surfaces and sharper texture than simple open pouring.
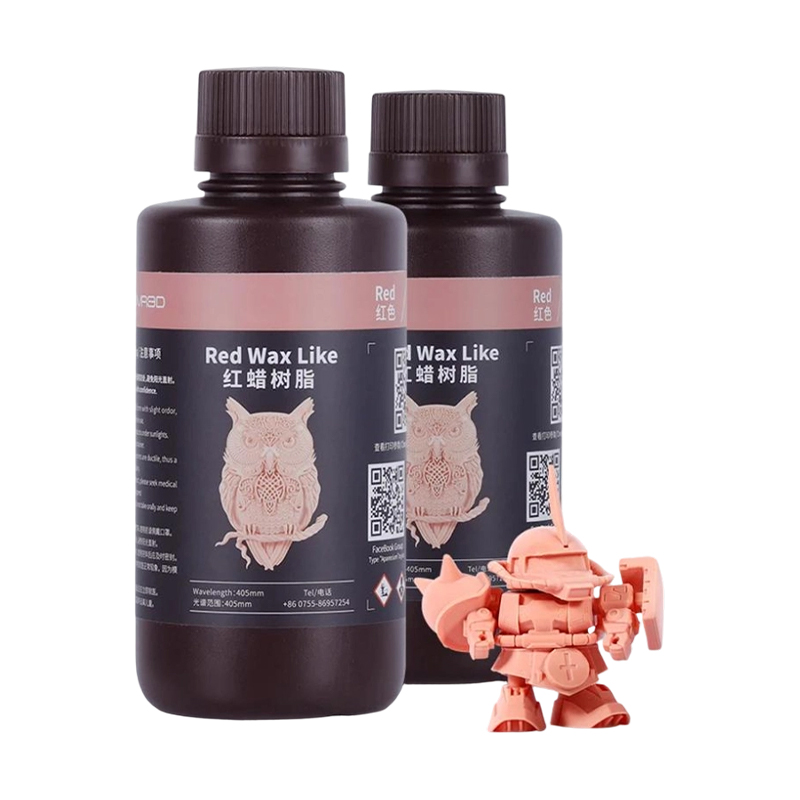
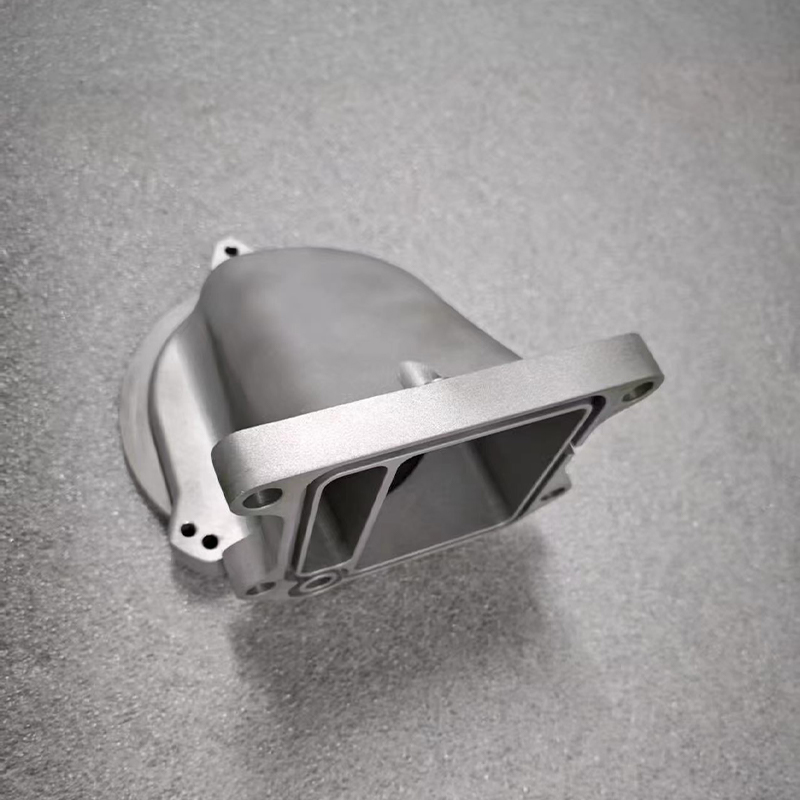
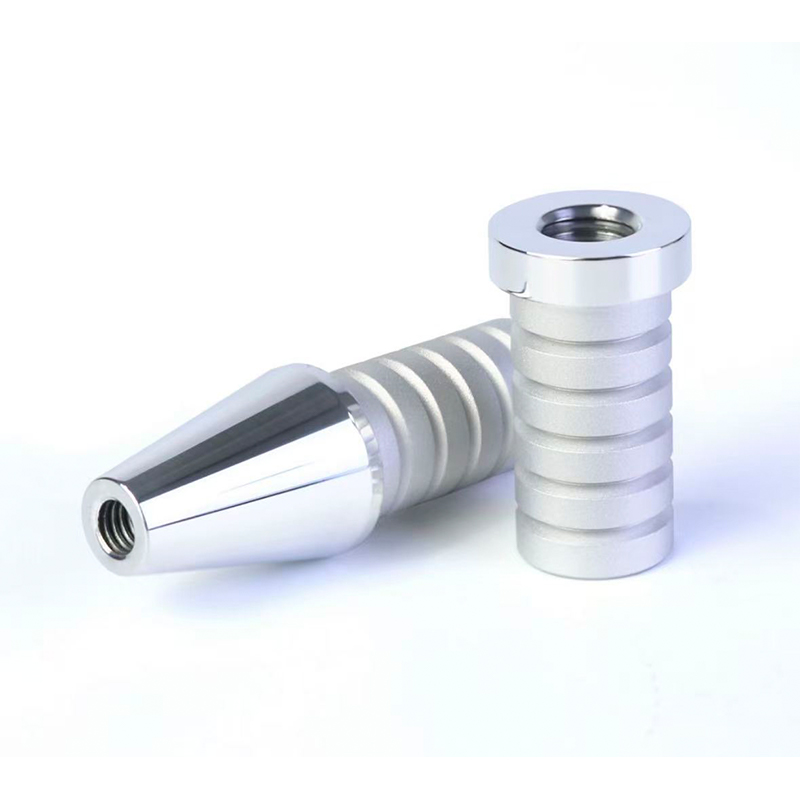
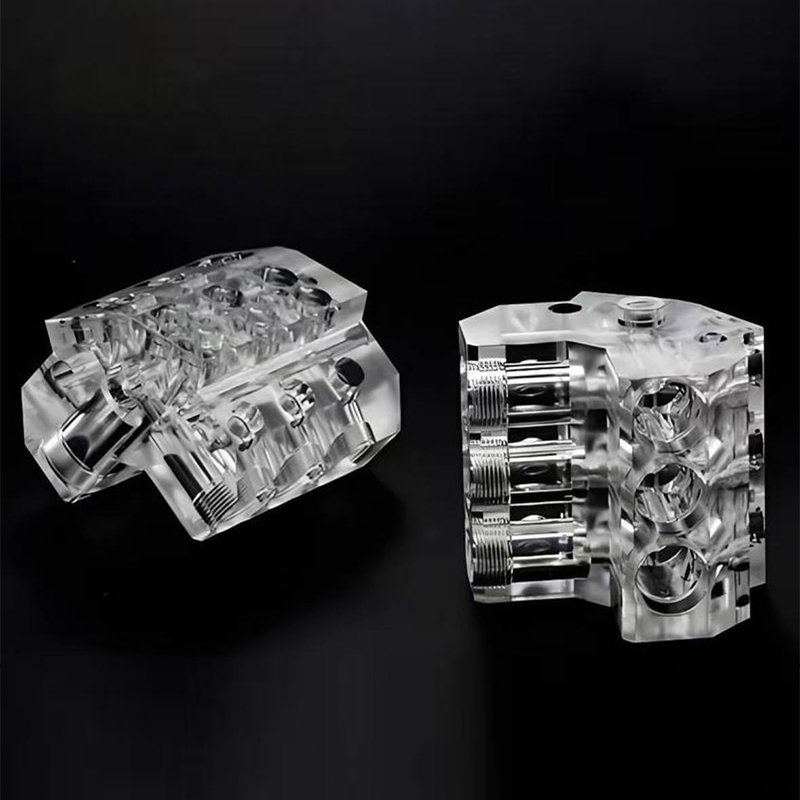
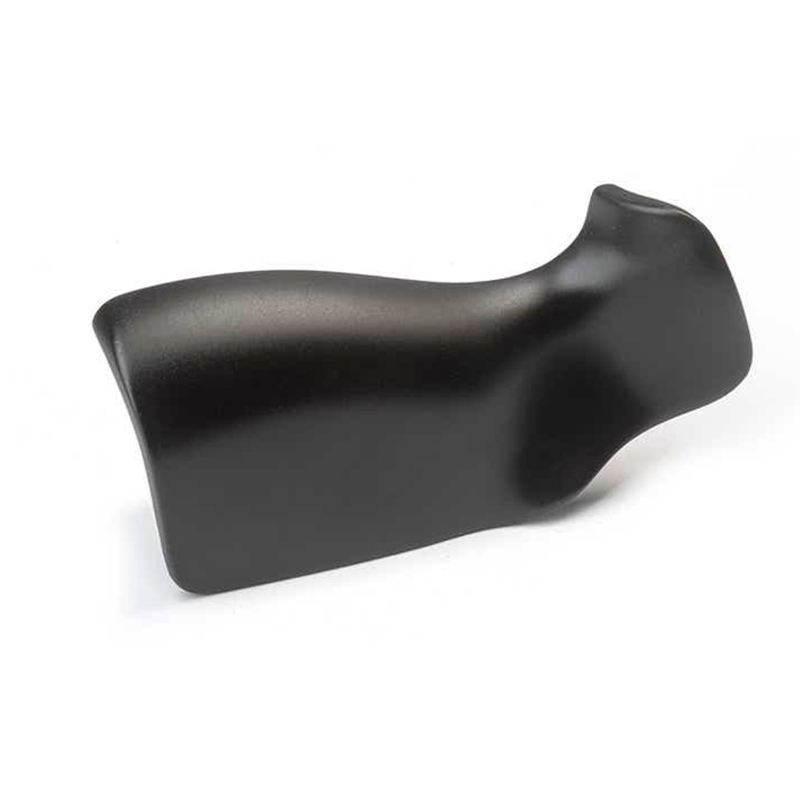
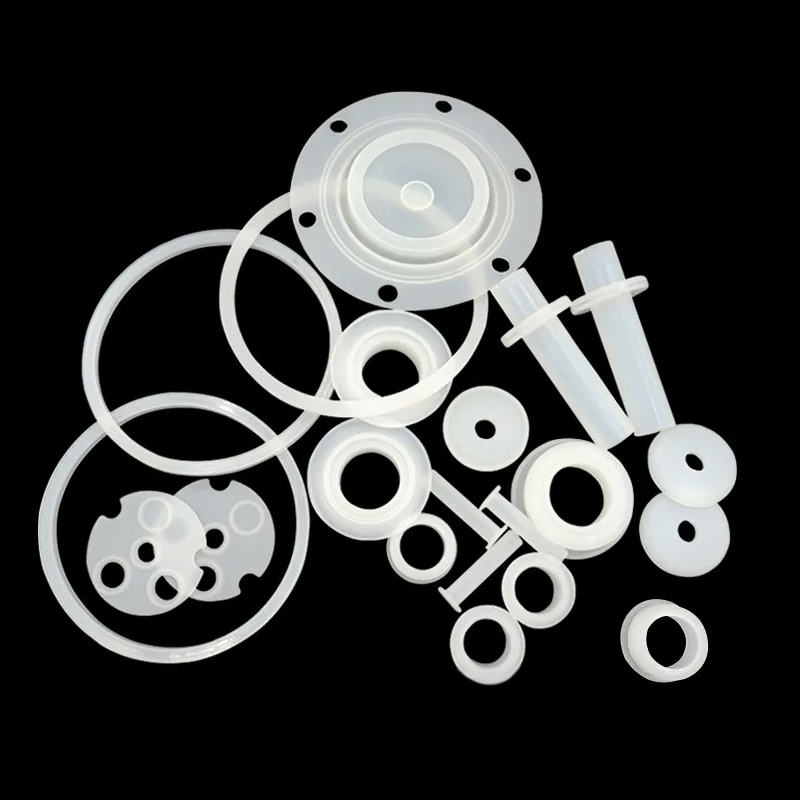
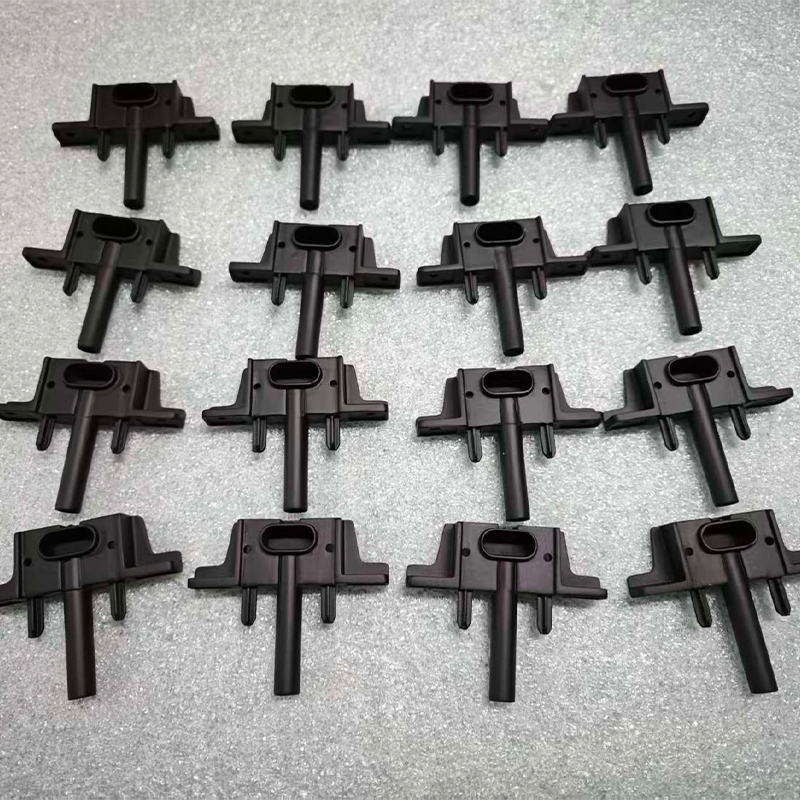
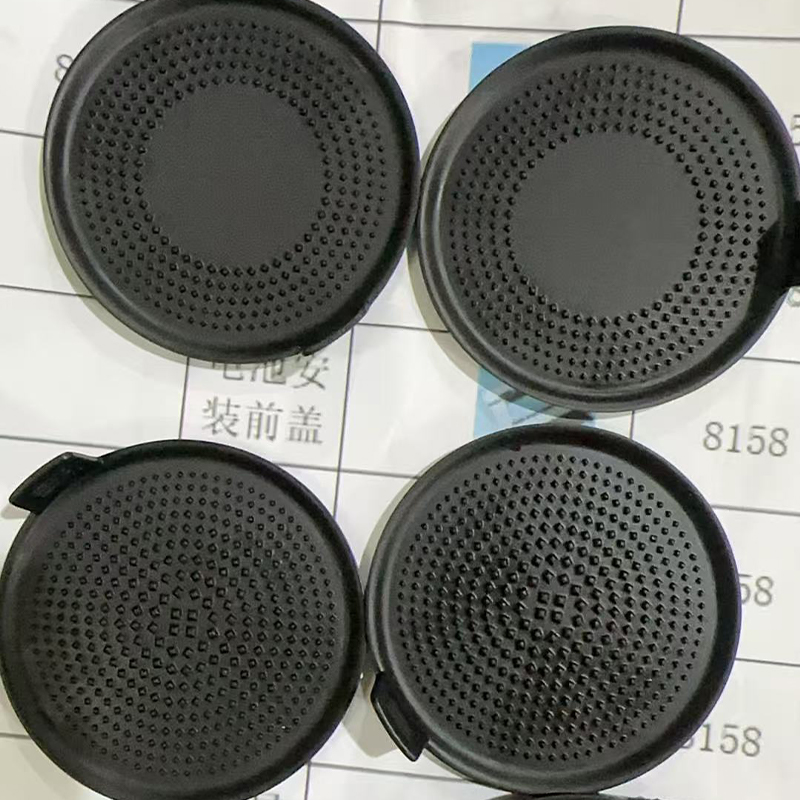
What the equipment looks like
Tools that shape the mold
|
Tools that make the parts
|
Where the project time goes
Buyers often ask why a batch of five parts still takes several working days. The reason is that the fixed work, preparing the master and making the mold, does not shrink with quantity. The chart below shows an illustrative split of project time for three batch sizes.
As the batch grows, casting and curing take a larger share while master preparation takes a smaller one. Treat the numbers as a planning aid and not as a measured industry statistic.
The chart shows that for a very small batch, preparing the master and the mold is the largest part of the schedule, which explains why a five-piece request is rarely five times faster than a twenty-piece request. As the quantity rises, casting and curing cycles take more of the calendar because each pour fills one cavity set and then waits in the oven. At the largest batch in the chart, a second mold is assumed so that two pours can run in parallel, which keeps the curing share from growing further. Finishing and inspection stay at roughly one fifth of the effort across all three cases, a reminder that painting, trimming and checking are a standing part of the deliverable. For buyers working with Jiaheng's silicone mold replication service, this pattern is useful when deciding whether to order a few extra pieces in the first batch, since the fixed work has already been done.
The fixed work of master and mold dominates small batches, so ordering a few extra pieces in the first run is usually efficient.
Common Types of Vacuum Casting Resins and Their Characteristics
Vacuum casting does not use the same thermoplastics as injection molding. It uses two-part polyurethane systems formulated to imitate them. The match is good enough for many fit, feel and function checks, though not identical in every property. The cards below summarize the families a vacuum casting supplier usually offers.
ABS-like rigid resinStiff, dimensionally stable and easy to paint. A common choice for housings, brackets and enclosures that need a firm feel. PP-like semi-flexible resinSlightly flexible with good fatigue behavior. Suited to snap fits, living-hinge style features and flexible clips. Rubber-like resinAvailable across a range of Shore A hardness values. Used for seals, grips, gaskets and soft-touch surfaces. Transparent resinWater-clear or tinted, often polished after demolding. Used for lenses, light guides, covers and display windows. High-temperature resinRetains stiffness at higher service temperatures. Chosen for parts near motors, lamps or heated assemblies. Flame-retardant resinFormulated to slow burning for electronics enclosures and demonstration units that face stricter internal checks.
Color is usually handled by adding pigment to the resin before pouring, which gives solid color all the way through the part. That is helpful for parts that will be handled or scratched during testing, because a chip does not reveal a different color underneath. For high-gloss or metallic looks, a painted finish is normally added after casting.
| Resin family | Feel and behavior | Typical uses | Finishing options |
|---|---|---|---|
| ABS-like rigid | Firm, stable, good detail | Housings, covers, structural samples | Sanding, painting, texturing |
| PP-like semi-flexible | Tough, bends without cracking | Clips, snap fits, flexible lids | Light sanding, painting with primer |
| Rubber-like | Soft to firm elastic | Seals, grips, gaskets, soft keys | Painting with flexible coatings |
| Transparent | Clear, can be polished | Lenses, light pipes, windows | Polishing, clear coating |
| High-temperature | Stiff at elevated temperature | Parts near heat sources | Painting, machining of small features |
Matching resin to application
Choosing a resin starts with the question of what the part has to prove. If the test is a snap-fit assembly, a semi-flexible resin is often more informative than a rigid one. If the sample is for a trade show, a rigid resin with a painted finish may look closer to a final product than a raw one. The heatmap below gives an editorial view of which families usually suit which tasks.
Darker cells indicate a stronger general fit. The ratings are a starting point for a conversation with your supplier, not a replacement for material data on a specific grade.
The heatmap shows that rigid ABS-like resin covers the widest range of everyday tasks, including housings, fit tests and appearance models, which is why it is the usual starting point in many projects. Rubber-like resins stand out in the seals and grips column, where flexibility is the whole point of the part. Transparent resin is the clear choice for lenses and light guides, and it also performs well for marketing models where visual impact matters. High-temperature and semi-flexible resins both fit functional testing, though for different reasons: one for heat exposure and the other for repeated flexing. When a part has two competing needs, such as a rigid body and a soft seal, a supplier can cast them separately or use overmolding techniques, which is one reason to discuss assembly early with a vacuum casting manufacturer.
Pick the resin by the question the part must answer: stiffness, flexibility, clarity, heat resistance or appearance.
Applications and Selection Points for Vacuum Casting Services
Vacuum casting shows up in more industries than most buyers expect, mainly because the pattern of need is the same everywhere: a handful of production-like parts, soon, from a design that may still change. The two columns below pair typical application fields with the selection points that decide whether vacuum casting is the right call.
Typical application fields
|
Selection points to check
|
A quick decision path
- If you need one or two parts only, printing or machining directly is usually quicker than making a mold.
- If you need roughly 10 to 30 parts with a production look, vacuum casting is usually worth a close look.
- If you need hundreds of parts or exact thermoplastic data, plan for hard tooling or another route.
- If the design is still changing, keep the master flexible and cast a first small batch before cutting steel.
Teams sometimes ask whether vacuum casting can replace low-volume production altogether. It can for certain products, such as specialized equipment with very low annual demand, but the mold life and resin differences mean it is more often a bridge than a destination. Think of it as the stage that lets you test, sell samples and gather feedback while the production tool is being built.
Vacuum casting fits the middle of the product journey: more parts than printing makes sense for, fewer than hard tooling needs.
Detailed Comparison: Vacuum Casting vs 3D Printing, CNC Machining and Injection Molding
Most projects use several processes in sequence, so the comparison below is less about picking a winner and more about picking a stage. Each route has a quantity range where it is comfortable and a point where it starts to struggle.
| Factor | Vacuum casting | 3D printing | CNC machining | Injection molding |
|---|---|---|---|---|
| Typical quantity | About 10 to 30 per mold | 1 to a few | 1 to repeat batches | Hundreds and above |
| Tooling effort | Silicone mold, short | None | Fixtures and programs | Hardened or aluminum mold, longer |
| Surface detail | Very good, copies master | Layer lines possible | Machined finish | Excellent, tool-defined |
| Material | Imitation polyurethane resins | Resins, nylon, some metals | Real metals and plastics | Production thermoplastics |
| Design change | New master, new mold | Immediate | New program | Costly tool modification |
| Typical role | Production-like pilot parts | Early concept models | Functional metal parts | Volume production |
In practice the table points to a sensible sequence. Print the first concept to check shape, refine the design, then use a well-finished printed master as the basis for a silicone mold. Cast the number of parts needed for tests, reviews or samples. When the design settles and quantities rise, move toward a production tool. Jiaheng supports the early and middle stages on one platform: resin, nylon and metal 3D printing, advanced machining and silicone mold replication, so the master, the mold and the finishing can be coordinated without transferring files between vendors.
The radar chart below compares three of these routes across six qualities that buyers mention most often. The ratings are editorial and illustrative. They are meant to show shape, not to rank suppliers or predict performance on a specific part.
The radar chart shows vacuum casting with its largest reach toward surface finish and detail replication, because the silicone mold copies the master closely and the vacuum helps resin reach fine texture. Three dimensional printing extends furthest toward small-batch speed and geometry freedom, which is why it is so useful for the first concept and for shapes that cannot be cast. CNC machining pushes outward on mechanical strength, since the part is cut from a solid block of the real material. Vacuum casting sits in the middle on strength and geometry, which is an honest reflection of the imitation resins and the need to open a mold along a parting line. Together the three shapes explain why a staged approach tends to work well: print to explore, cast to present and test, and machine or mold when strength or volume demands it.
Use printing to explore, vacuum casting to present and test, and machining or injection molding when strength or volume demands it.
Design Tips and Tolerances for Vacuum Cast Parts
Most disappointments with cast parts trace back to a few design choices that could have been adjusted before the master was built. The tips below are the ones a manufacturer is most likely to raise during a manufacturability review, so addressing them early saves a round of revisions.
Wall thickness and ribs
Aim for walls in a moderate range, commonly cited as roughly 1.5 to 3 mm for many small parts, and keep thickness reasonably even. Thick lumps shrink more as they cure and can leave sink marks. Very thin sections may not fill, especially far from the gate. Ribs should be thinner than the wall they support, which reduces surface marks on the opposite face.
Draft, undercuts and parting lines
Silicone is flexible, so undercuts that would trap a rigid steel mold can often be released by stretching the mold. Even so, a little draft on vertical faces makes demolding smoother and reduces wear on the tool. Tell the supplier which faces are visible, because they will try to place the parting line on a hidden edge or a natural step in the design.
Tolerances and shrinkage
General guidance for vacuum casting often cites tolerances of roughly plus or minus 0.2 to 0.3 mm on small dimensions, or around 0.3 percent on larger ones, with some variation by resin and geometry. Resin shrinkage during cure and slight movement of the silicone both contribute. For this reason, it helps to mark only the truly critical dimensions on the drawing. If a bore or mating surface must hold a tighter fit, many suppliers will machine that feature after casting.
Surface finish and texture
The cast surface mirrors the master. A polished master gives glossy parts, and a bead-blasted or textured master gives matte parts. If the final look includes paint, the supplier will usually sand lightly and apply primer and color coats. Because Jiaheng provides painting and other surface treatments in the same workflow, color matching and gloss level can be agreed during the same project and not through a separate finishing vendor.
| Feature | Practical guidance | Reason |
|---|---|---|
| Wall thickness | Keep even, moderate thickness | Reduces sink marks and short fills |
| Ribs | Thinner than adjacent wall | Limits surface marks |
| Draft | Small draft on vertical faces | Eases demolding, extends mold life |
| Critical dimensions | Mark only the ones that matter | Focuses inspection and finishing |
| Texture | Build it into the master | Texture transfers directly to castings |
Even walls, sensible draft and a short list of critical dimensions remove most of the problems seen in first casts.
Quality Control and Finishing for Cast Parts
A reliable vacuum casting supplier checks quality at several points, not only at the end. The earliest check is the master, because a flaw there is copied into the mold and every part after it. A second check happens after the first casting, when the supplier compares the part against the drawing and looks for bubbles, short fills and flash. A final check covers the finished batch.
- Master inspection: dimensions, surface condition and feature sharpness before the mold is made.
- First article check: the first casting is measured and examined before the rest of the batch is poured.
- In-batch observation: color consistency, bubble inspection and visible flash are monitored as parts come out.
- Final inspection: critical dimensions, fit, finish and packaging are reviewed before shipping.
Finishing is where a cast part either looks like a prototype or looks like a product. Trimming removes gates and vents. Light sanding cleans the parting line. Painting adds color, gloss or texture, and masking allows two colors on one part. For transparent parts, polishing and clear coating improve clarity. Assembly, pad printing, laser marking and inserts can also be arranged when the sample needs to behave like the final product.
Communication matters as much as measurement. If you attach a reference sample, a color code or a photo of the look you are after, the finishing team has something concrete to match. A short written brief with finish targets, visible faces and critical dimensions reduces the chance of rework.
Quality in vacuum casting begins at the master and continues through every pour, so ask suppliers how they check each stage.
Maintenance Guidance for Silicone Molds and Cast Parts
Maintenance in vacuum casting has two sides: looking after the tools that make the parts, and looking after the parts once they are in your hands. Both affect consistency, especially when you plan to reorder.
Caring for the silicone mold
A silicone mold is a consumable tool. General industry guidance commonly cites a life of roughly 15 to 25 castings, shorter for fine detail, thin features or aggressive resins, and sometimes longer for simple shapes. Each pour exposes the silicone to heat and chemical contact, so edges soften and surface detail gradually fades. Good handling extends useful life without turning the mold into a long-term asset.
- Clean the cavity gently after each pour and avoid sharp tools that can nick the surface.
- Apply a release agent suited to the resin, in light even coats, to ease demolding and limit tearing.
- Store the mold flat in a cool, dry place, away from direct sunlight and heat sources.
- Keep the two halves aligned when stored so that the cavity does not slump or distort.
- Inspect the parting line and thin features before each pour and retire the mold when flash or tearing increases.
Keep the master as well. A clean, well-labeled master allows the supplier to remake a mold when the first one wears out, and it protects the investment you made in preparing the surface. If the master was printed, store it away from moisture and strong light so it does not warp or discolor.
Caring for finished parts
| Resin type | Storage and handling | Cleaning |
|---|---|---|
| ABS-like rigid | Store away from long heat exposure | Mild soap and water, soft cloth |
| PP-like semi-flexible | Avoid keeping bent for long periods | Mild soap and water |
| Rubber-like | Keep away from oils and sunlight | Damp cloth, no strong solvents |
| Transparent | Wrap to prevent scratching | Soft lint-free cloth, mild cleaner |
| Painted parts | Avoid stacking without padding | Soft cloth, no abrasive pads |
Cast polyurethane parts can be sensitive to moisture, heat and some solvents over time, especially in the early days after demolding. Allowing parts to settle at room temperature before assembly or painting reduces the chance of small dimensional shifts. For parts that will be stored for months, protective packaging and a stable environment help the color and shape stay true to the approved sample.
Treat the mold as a short-life tool and the master as a keeper: both decide how repeatable your next batch will be.
Working with a Vacuum Casting Manufacturer and Supplier
Good results usually come from treating the supplier as an engineering partner rather than a vending machine for parts. A short briefing conversation at the start often saves several days later. These questions help you judge whether a vacuum casting supplier is set up to do that.
- Do you build the master in house, and which technologies do you use for it?
- Which resin families are available, and can you share the typical properties for each?
- How many castings do you plan per mold, and how do you handle larger quantities?
- Which finishing steps, such as painting, polishing or texturing, are handled in one place?
- What do you inspect, and what records can I receive with the shipment?
- How are design changes handled once the master is approved?
Zhejiang Jiaheng Intelligent Equipment Manufacturing Co., Ltd. approaches these questions as an OEM and ODM manufacturer. Its design team turns client ideas into practical, attractive product designs, and its capabilities include 3D printing in resin, nylon and metal, advanced machining, silicone mold replication for efficient small-batch production, and surface treatments such as painting. Because these steps sit on one platform, a customer can move from design to finished sample without re-explaining the project to several vendors.
How to prepare a useful enquiry
- A 3D model in a common neutral format, plus a drawing that highlights critical dimensions.
- The target quantity, the resin family you have in mind and any color or finish reference.
- A short note about how the part will be used: displayed, handled, assembled, heated or flexed.
- Your required delivery window and whether you expect design changes between batches.
A complete enquiry lets the supplier propose a sensible master method, resin and finishing plan in the first reply. It also signals that you understand the part, which usually leads to a more useful technical conversation. Over time, a supplier that keeps your files, mold history and finish notes can reorder faster and keep batches consistent, which is the quiet advantage of working with one long-term partner.
Share the part's purpose, not only its geometry, and your supplier can recommend a better resin, finish and process plan.
Explore Jiaheng Vacuum Casting Services
If you are ready to move from a master model to a small batch of production-like parts, you can review the service details, material options and project process on the dedicated page for Vacuum Casting Services from Jiaheng. The team supports OEM and ODM projects and can advise on master preparation, resin selection, finishing and batch planning on one platform.
Send your 3D file, target quantity and finish requirements to start a conversation with the Jiaheng team.
Vacuum Casting Services FAQ
What are vacuum casting services?Vacuum casting services are a small-batch manufacturing process in which a silicone mold is made from a master model and filled with two-part polyurethane resin under vacuum. The vacuum removes air so the resin reaches fine detail, and the cured parts have a surface and feel close to production plastic. A supplier typically also handles master preparation, finishing and inspection. |
How many parts can one silicone mold produce?General guidance often quotes roughly 15 to 25 castings per mold, with fewer for very detailed or thin-walled parts and sometimes more for simple shapes. If you need a larger batch, the supplier can make additional molds and cast in parallel. The exact count depends on geometry, resin and handling. |
What is the difference between vacuum casting and 3D printing?3D printing builds a part layer by layer directly from a digital file and suits single concept models and complex geometry. Vacuum casting copies a master into a mold and suits small batches that need smoother surfaces and a wider choice of production-like resins. Many projects use printing for the master and vacuum casting for the batch. |
When should I choose vacuum casting instead of injection molding?Choose vacuum casting when you need around 10 to 30 parts quickly, the design may still change, and you do not yet want to commit to a hard tool. Injection molding is usually the better route when quantities reach the hundreds or thousands and when you need exact production thermoplastic properties. |
What tolerances can I expect from vacuum cast parts?General guidance cites roughly plus or minus 0.2 to 0.3 mm on small dimensions, with larger parts showing proportionally greater variation. Resin shrinkage and mold movement both play a part. If a feature needs a tighter fit, the supplier may machine it after casting, so mark critical dimensions clearly on your drawing. |
Which materials are available for vacuum casting?Typical options include ABS-like rigid resin, PP-like semi-flexible resin, rubber-like resin in several hardness levels, transparent resin, high-temperature resin and flame-retardant resin. Colors can be pigmented in the resin or applied by painting. Your supplier can recommend a family after learning how the part will be used. |
Can vacuum cast parts be painted or textured?Yes. Cast parts accept sanding, priming and painting, and texture can be built into the master so that it transfers to every casting. Pad printing, laser marking and polishing for clear parts are also common. Agree the finish targets before the master is made so the surface preparation matches the final look. |
What should I send to get a vacuum casting quotation?Send a 3D model, a drawing with critical dimensions, the target quantity, preferred resin family, color or finish reference and your delivery window. A short note on how the part is used helps the engineers choose a suitable method. More complete information reduces back-and-forth and speeds up the first reply. |
A clear master, a defined finish and a realistic quantity are the three inputs that most improve a vacuum casting project.
Contact Information
-

zjjh@jiahzn.cn
-

+86-18936159957
-
+86-18966326325
ADD
-

Building 7, No. 188, Hongni Section of Zha Wang Road, Danghu Subdistrict, Pinghu City, Jiaxing City, Zhejiang Province, China
Copyright © 2026 by Zhejiang Jiaheng Intelligent Equipment Manufacturing Co., Ltd. OEM/ODM Integrated Smart Manufacturing Platform Manufacturers
